
DESKTOP CHECK-IN
Although phone apps are great sometimes it works even better to use a desktop or laptop computer!
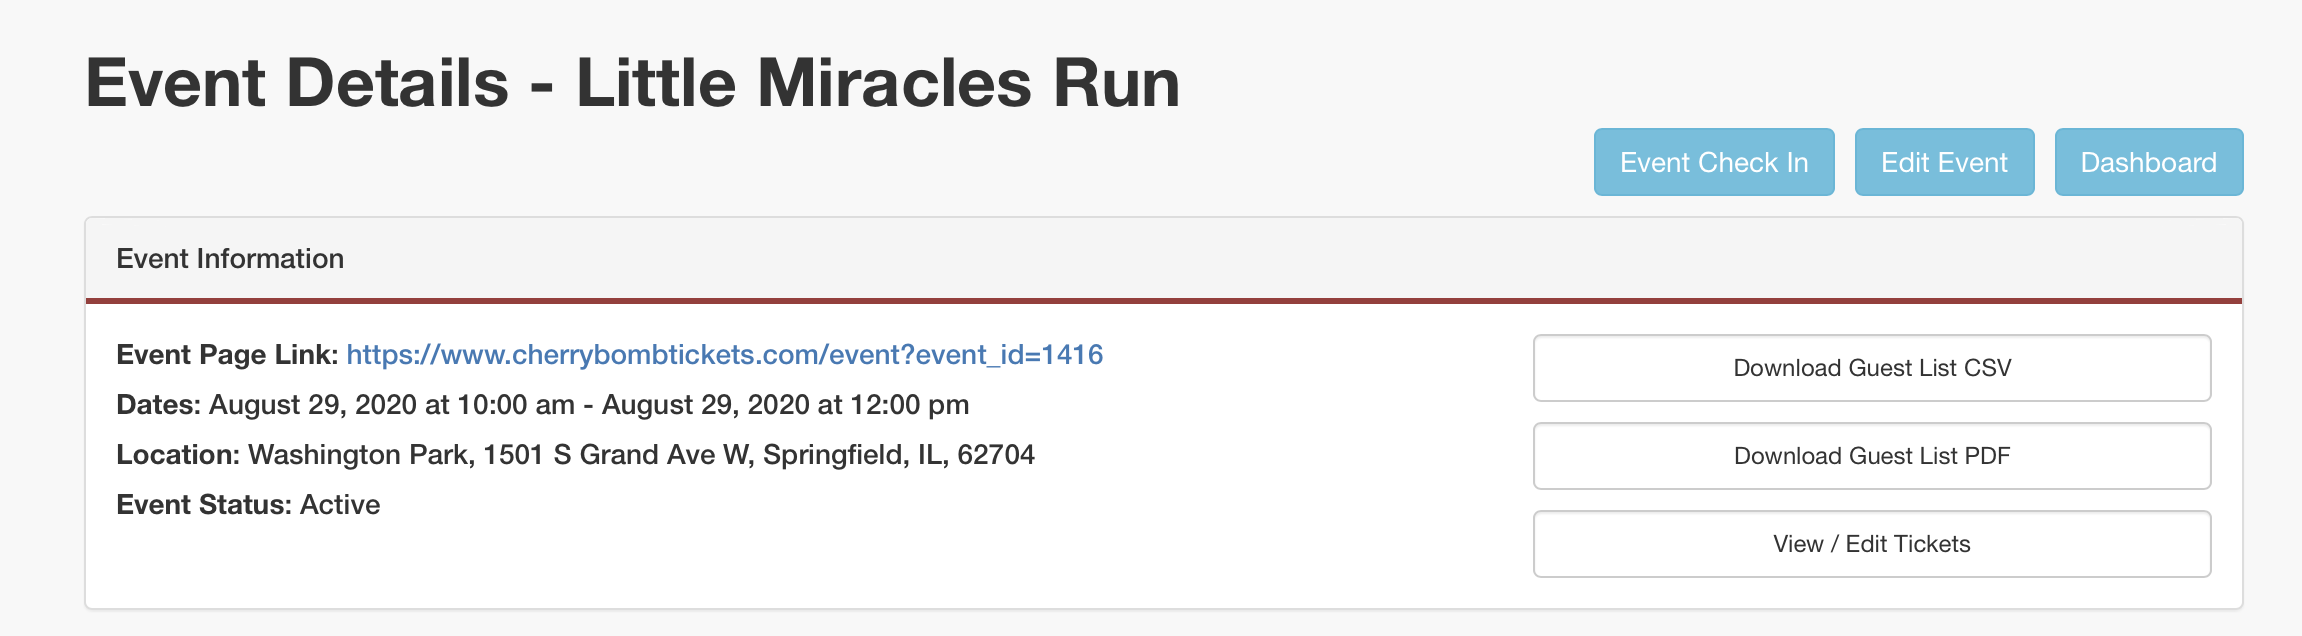
Cherry Bomb Tickets has a great desktop check in feature that can really help the check in process. Learning the basics only takes a minute and you will be ready to start checking people in. Click on the "Event Details" button for the event that you choose. On the Event Details page there is a "Event Check In" button on the top right of the screen. Click on this button to start checking people in.

Event Check-in steps:
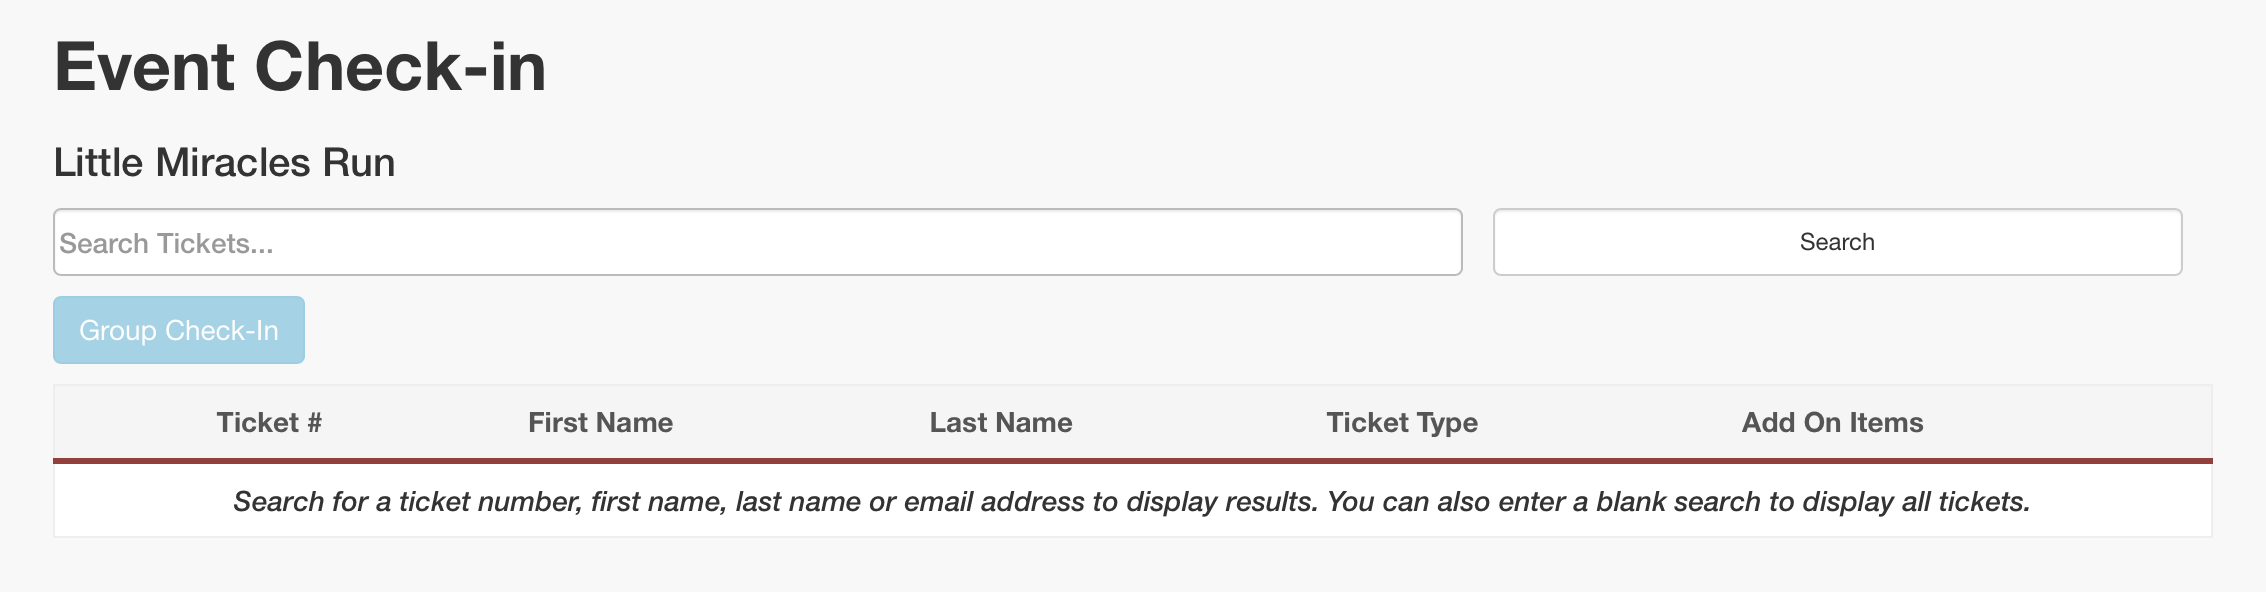
Once you enter the Event Check-in page you will notice that there are not any tickets or names in the list. This section only loads after you start typing in ticket numbers and names to help prevent that system from having to load the complete registration list every time. We want things to load and reload as quickly as possible when it is game time!
Simply type in the first name, last name or ticket number to start displaying results. Do not type both the first name and the last name at the same time or the system may have a hard time finding the result you need.
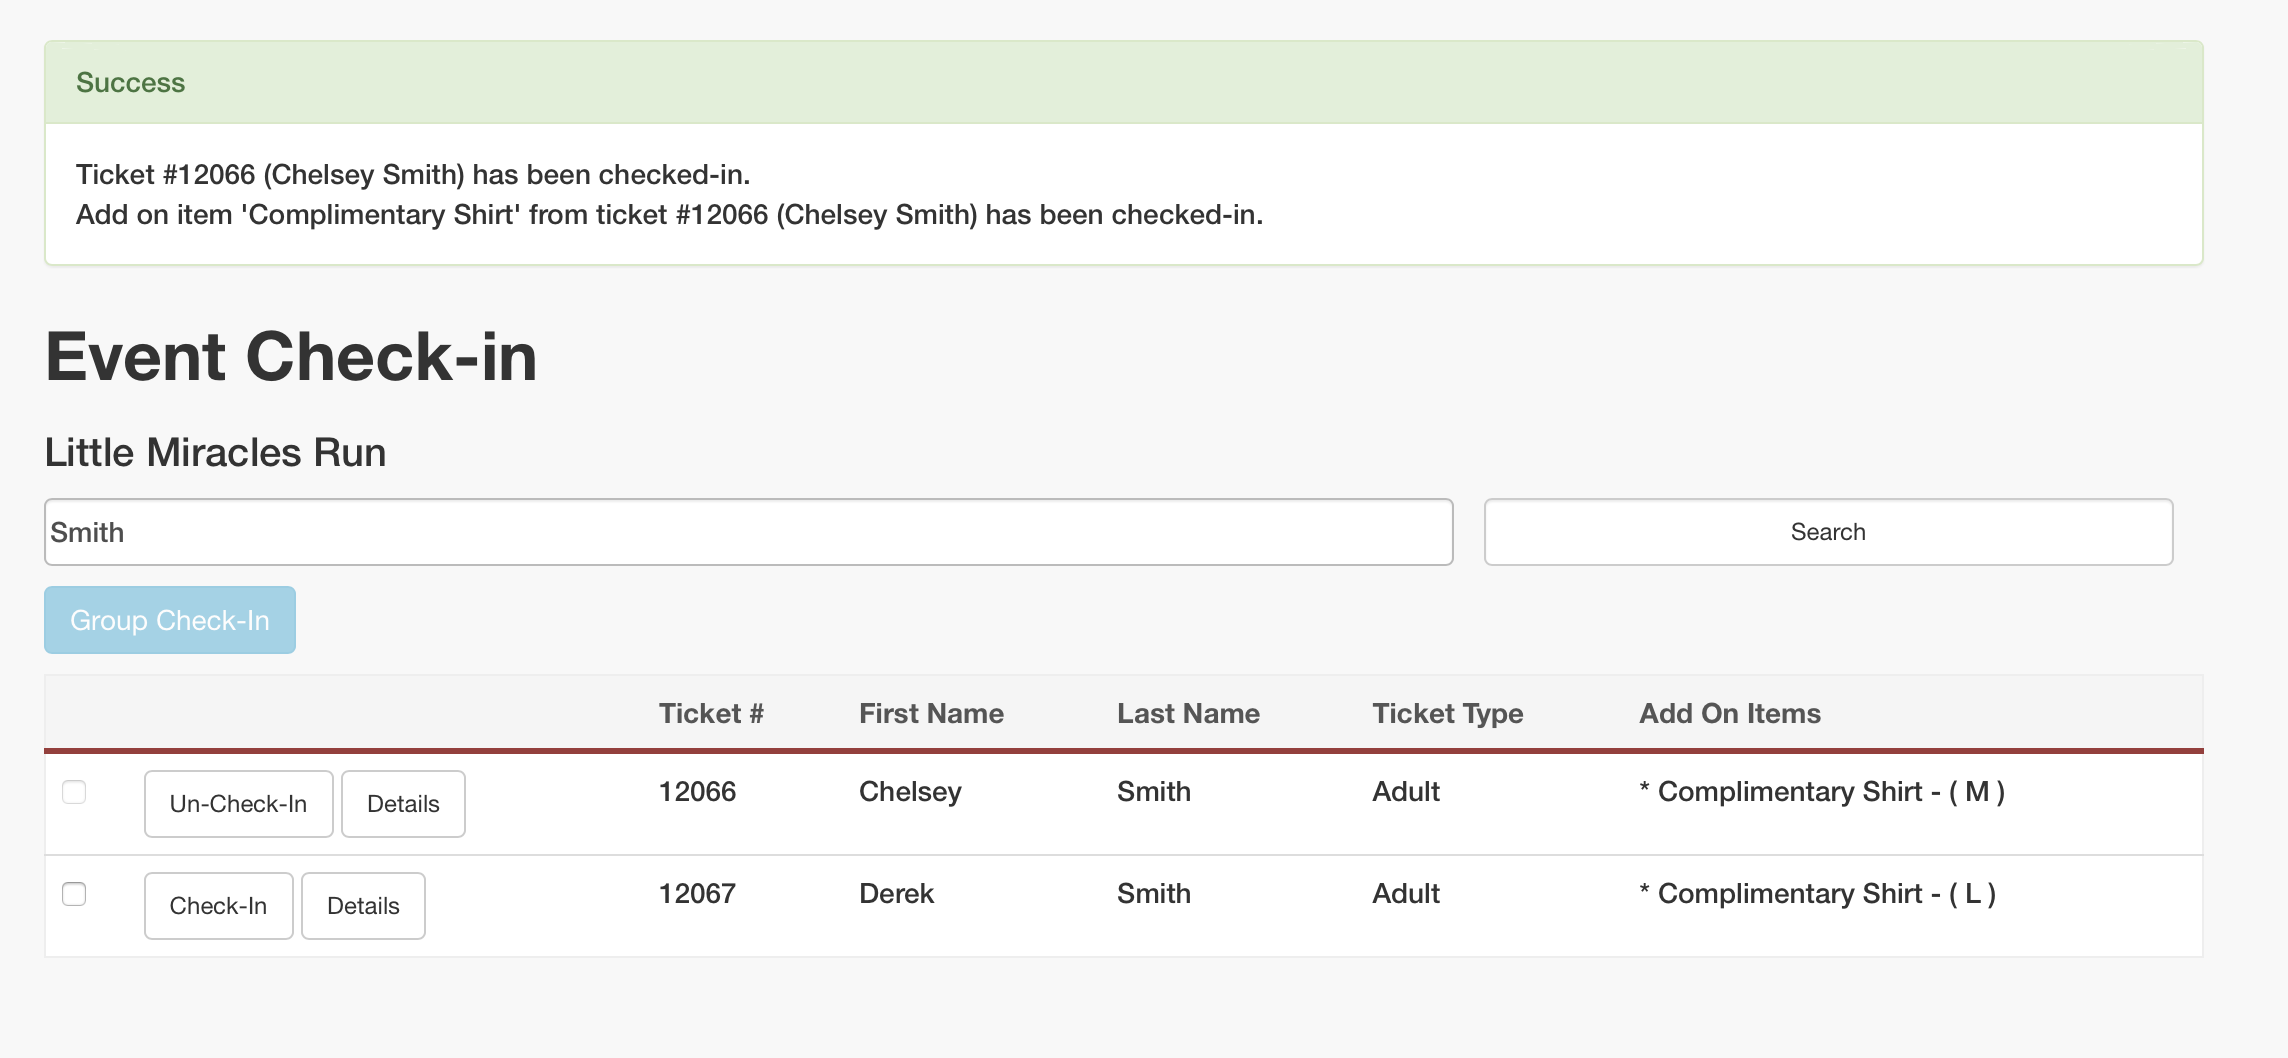
After you have typed in the name to check in you simply need to click on the "Check-In" button on the left side. Make sure to review if there are any Add On Items that need to be fulfilled during check in. In addition to quickly checking in a user (and all their included add on items) by clicking on the "Check-In" button you also have additional options to consider.
- Group Check-In - If there is a family or a number of participants that you can look up at the same time (often by last name), you can click on the check box on the far left side for each participant in the group. Then click on the "Group Check-In" blue button to check in all the users at the same time!
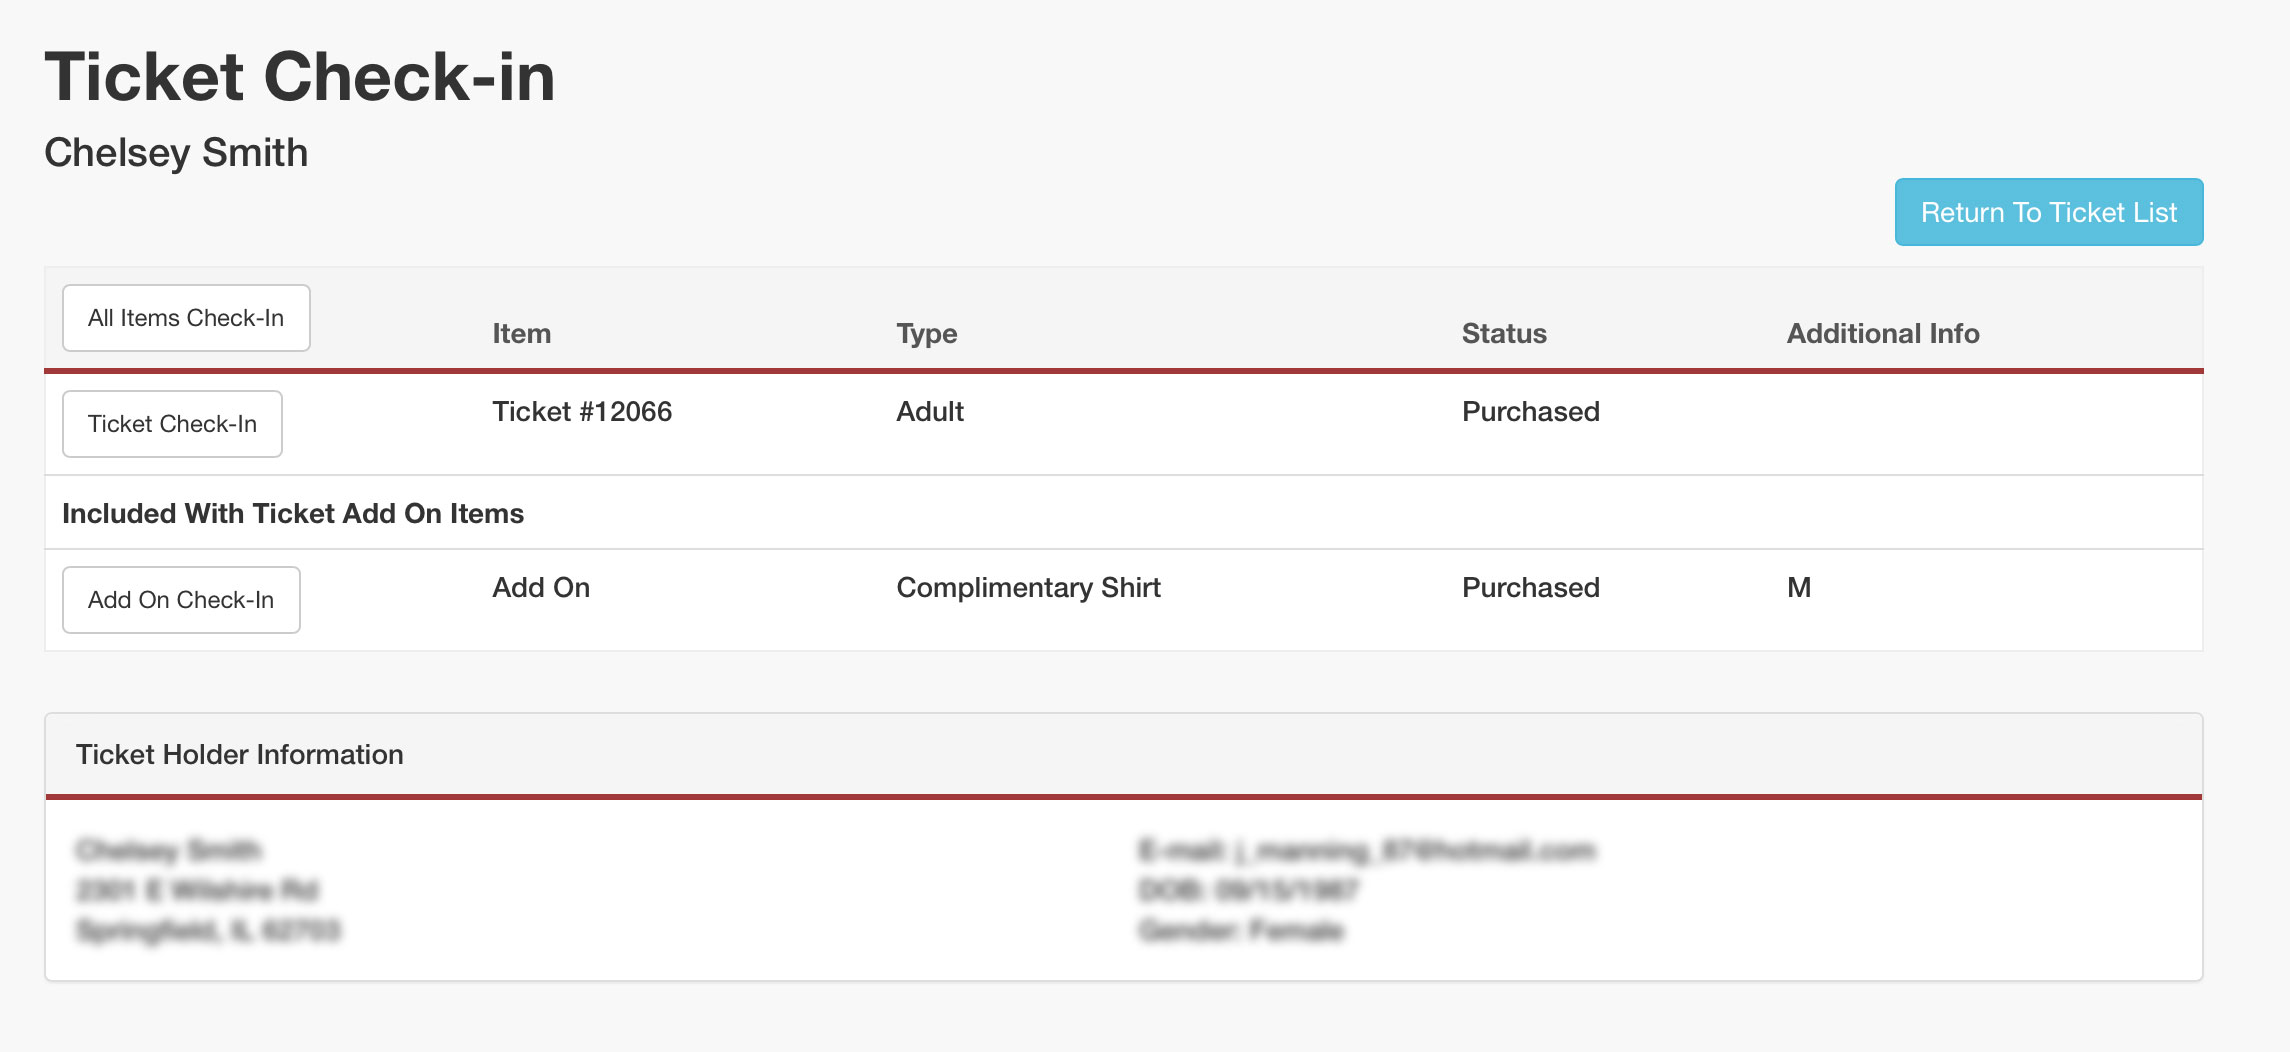
- Details - Each user has a "Details" button that will give you extra information about their order. It will give their contact information as well as their Ticket and Add On Items details. If you need to confirm that a ticket for the correct person (perhaps there are multiple people with the same name) or if you want to check in a ticket without checking in a add on item (or vice versa) this would be a great place to do so!
Do you have volunteers that are ready to help with the check in process? By creating Event Admin Users you will be able to give people access to the Event Check In area of your event without giving them access to any other section. This is a great security feature that will let you recruit a crew without the stress!
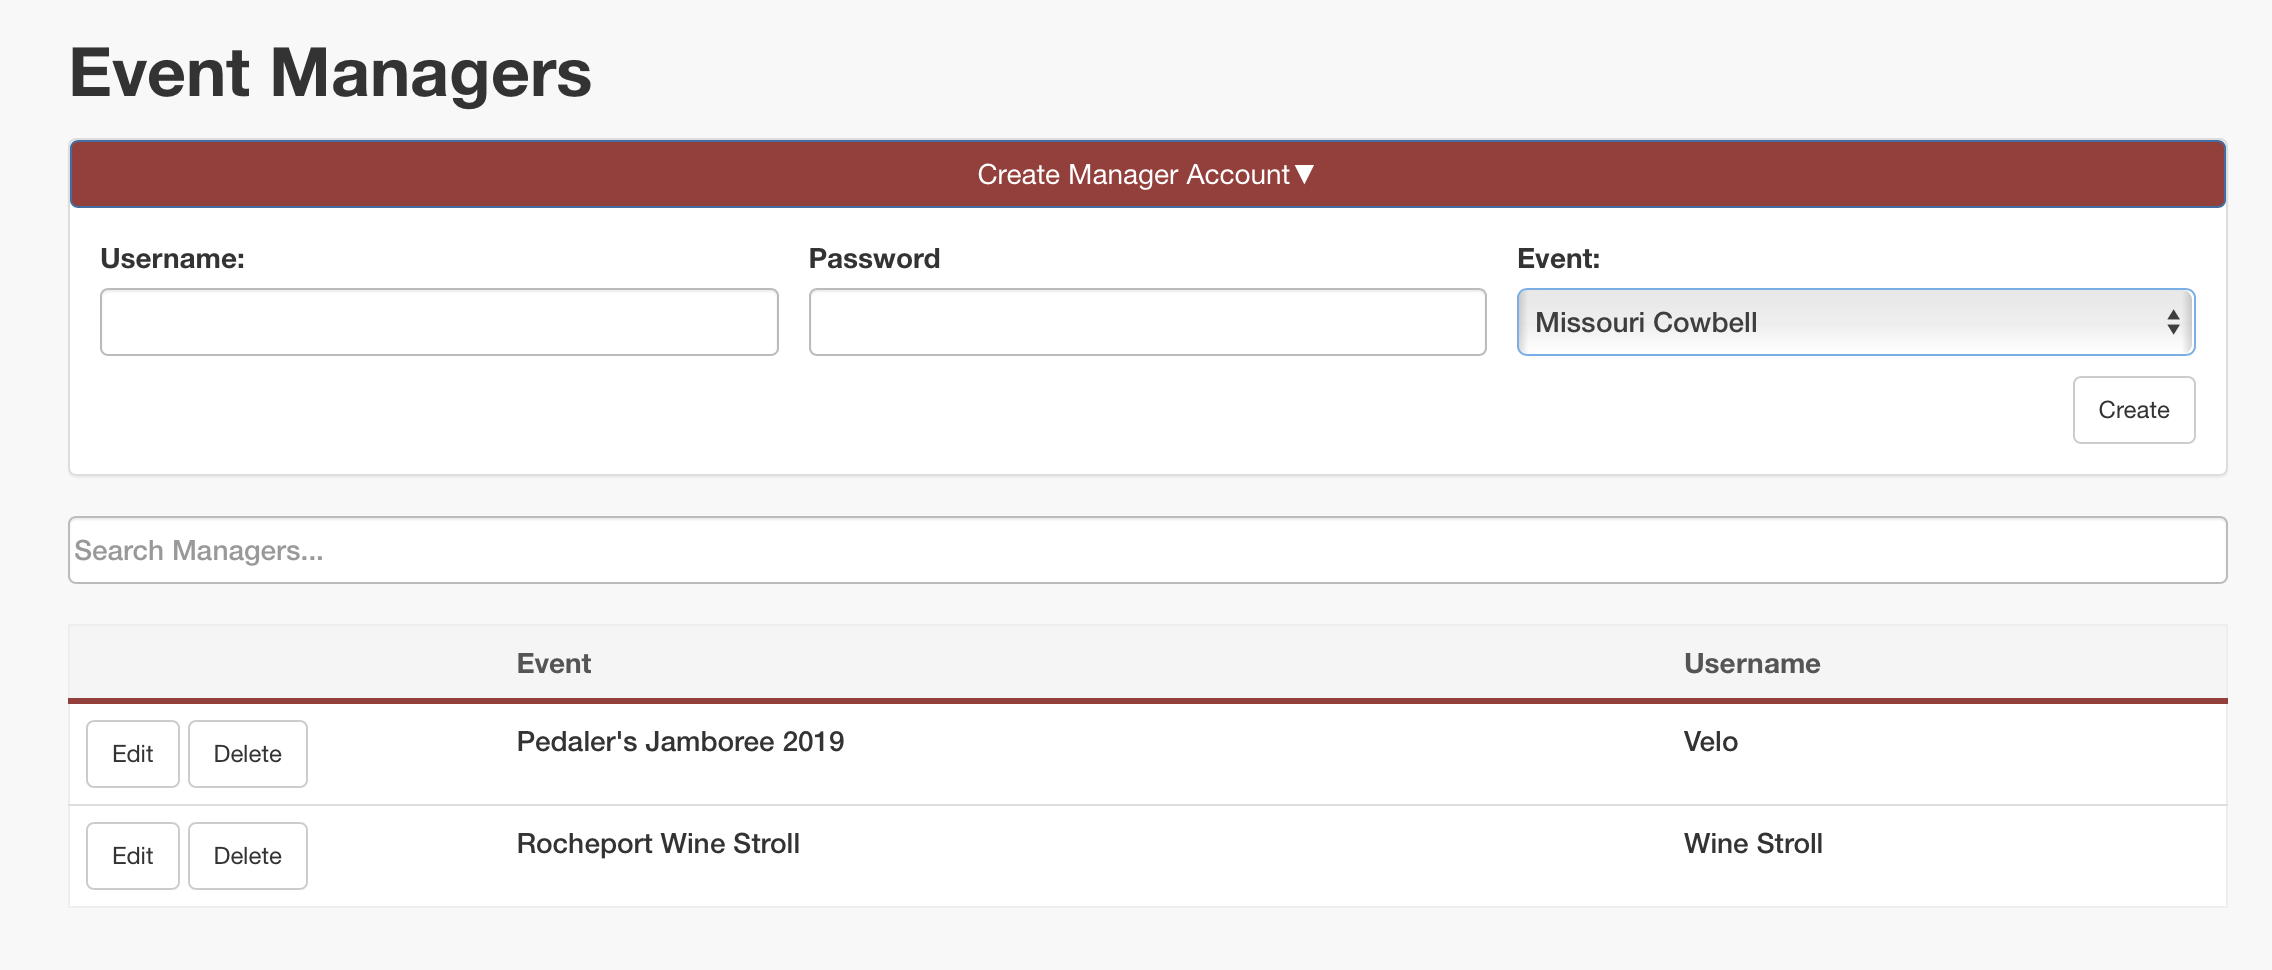
On the very top right of the Cherry Bomb Tickets website choose "Event Managers" from the list of links. Here you will be able to create a manager account that will give access to a user for a specific event.
Create Manager Accounts:
- Create a username and password for the new user. Under the Event: drop down menu choose the event that you would like to add them for. Click on the "Create" button. Boom! They are added to the list below!
- Edit/Delete users: On the list of users you can click "Edit" to change the username and password or click the "Delete" button to remove them from the system.
- Logging in as a manager: Mangers can log into the Cherry Bomb Tickets website or phone app using the username and password. They will be directed to the event check in page for the desktop or the check in page for the phone.


USING THE PHONE CHECK-IN APP
We are super pumped to have a phone App for checking people in on both Androids and Apple phones! The powerful difference between the mobile app and the desktop check in process is the ability to quickly scan QR codes with a phone. You are still able to check in participants by name and ticket number as well. We are going to talk you through the simple steps of using the mobile app below.
- Download the mobile app to your phone - Apple Store - Android Store
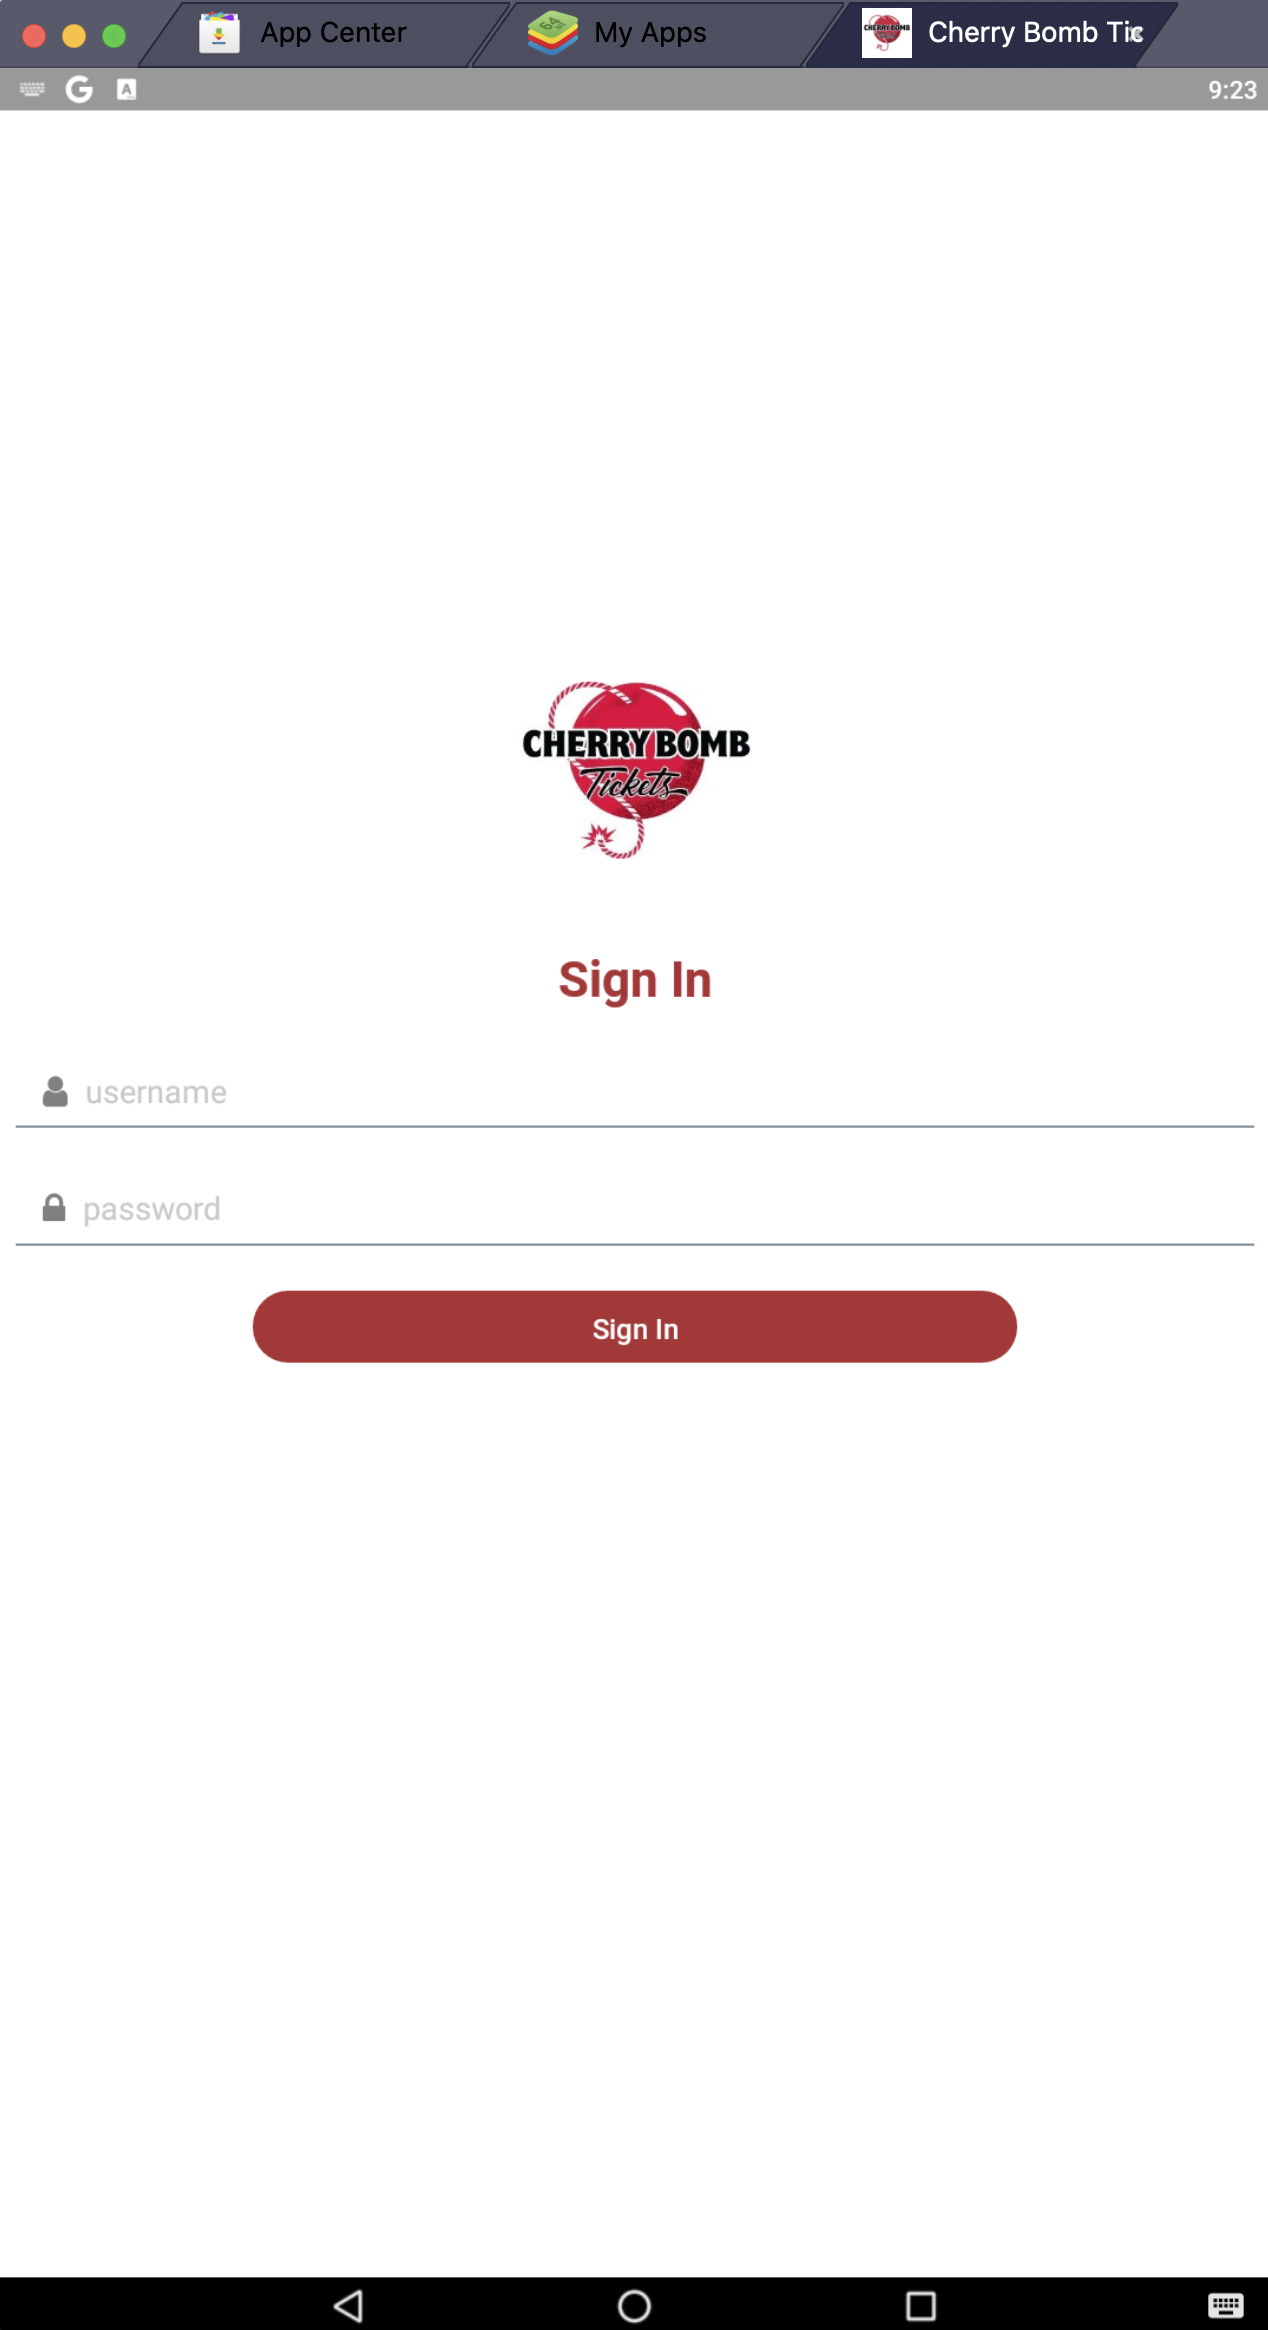
- Log in with your username/password - Or Account Manager username/password
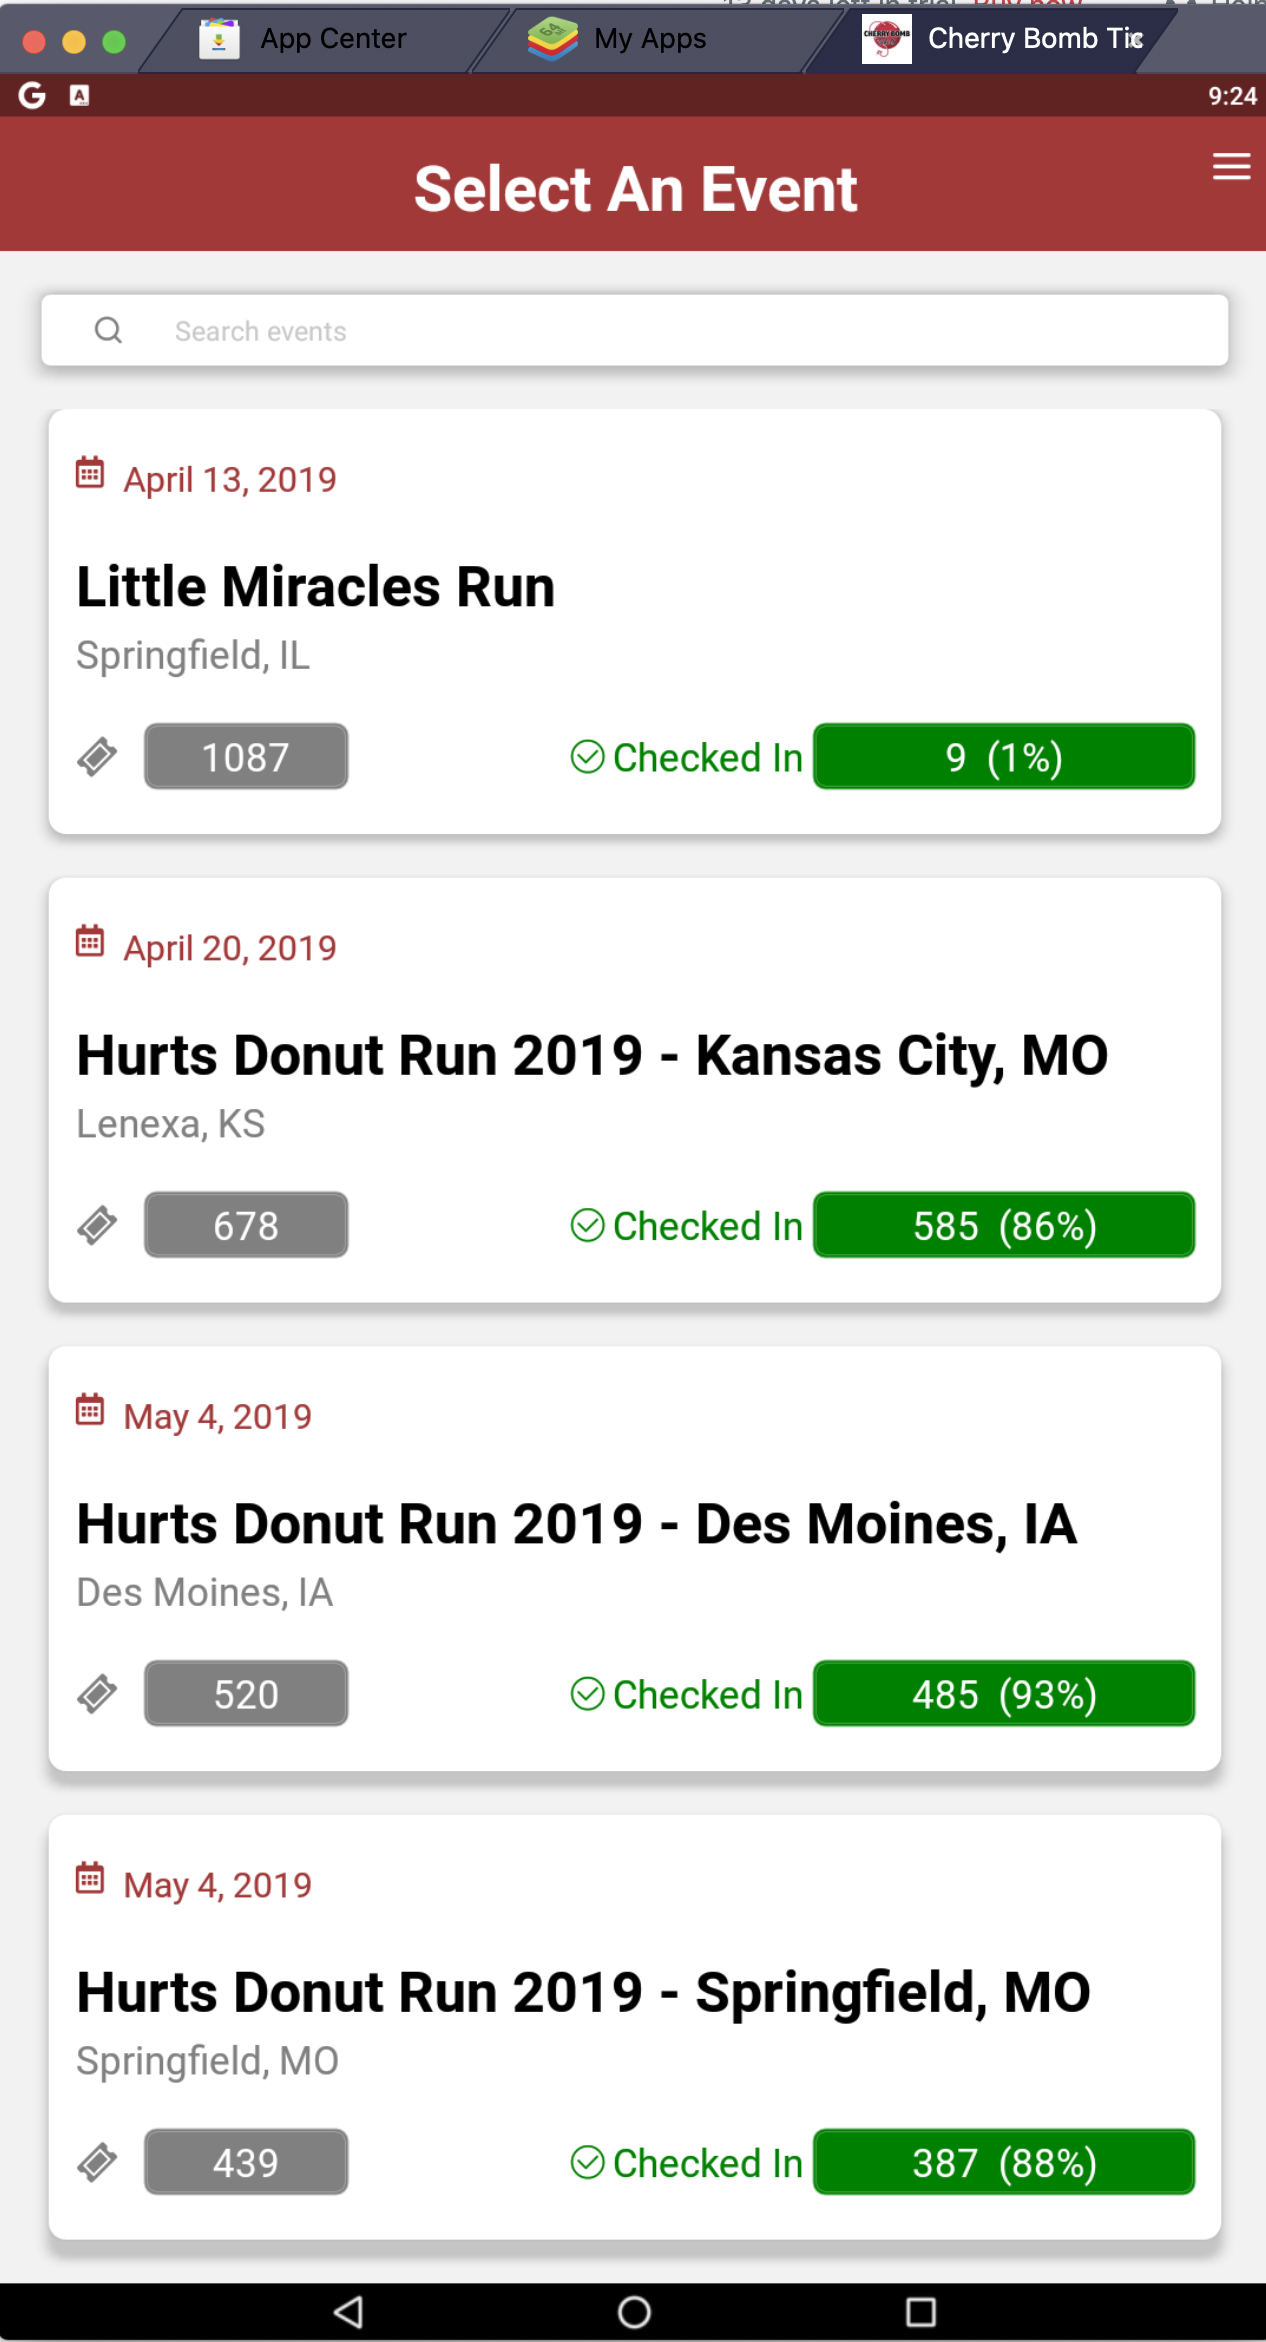
- Select an Event from the list - The events have the date/event name/location and the number of tickets sold and the number and percent of tickets checked in
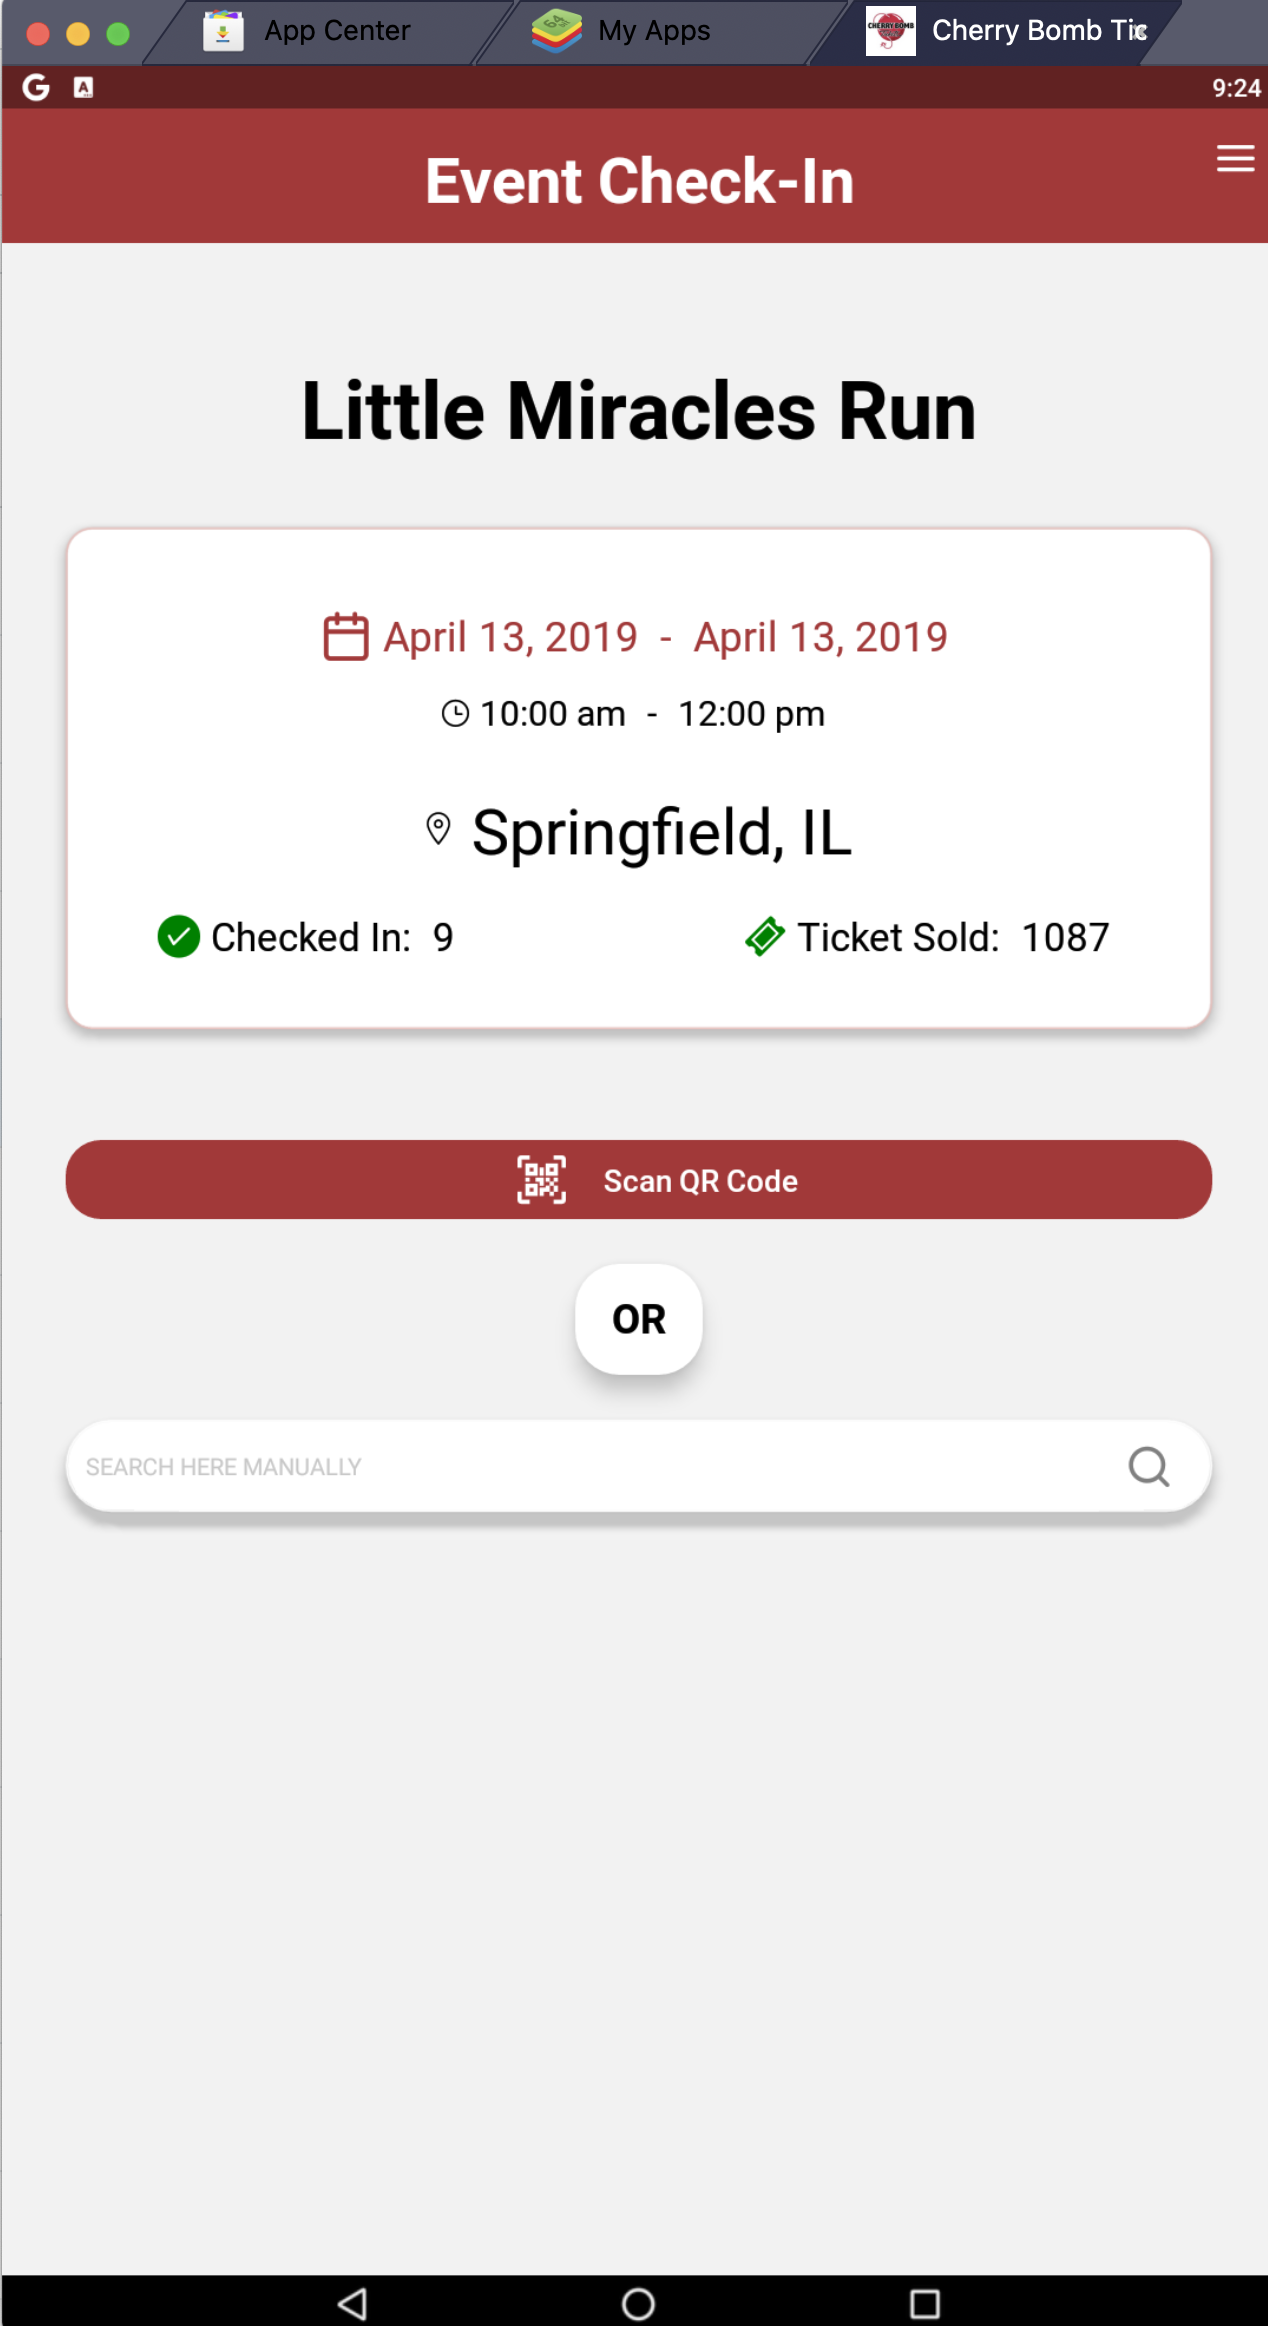
- After choosing your event you have the option to "Scan QR Code" or "Search Manually".
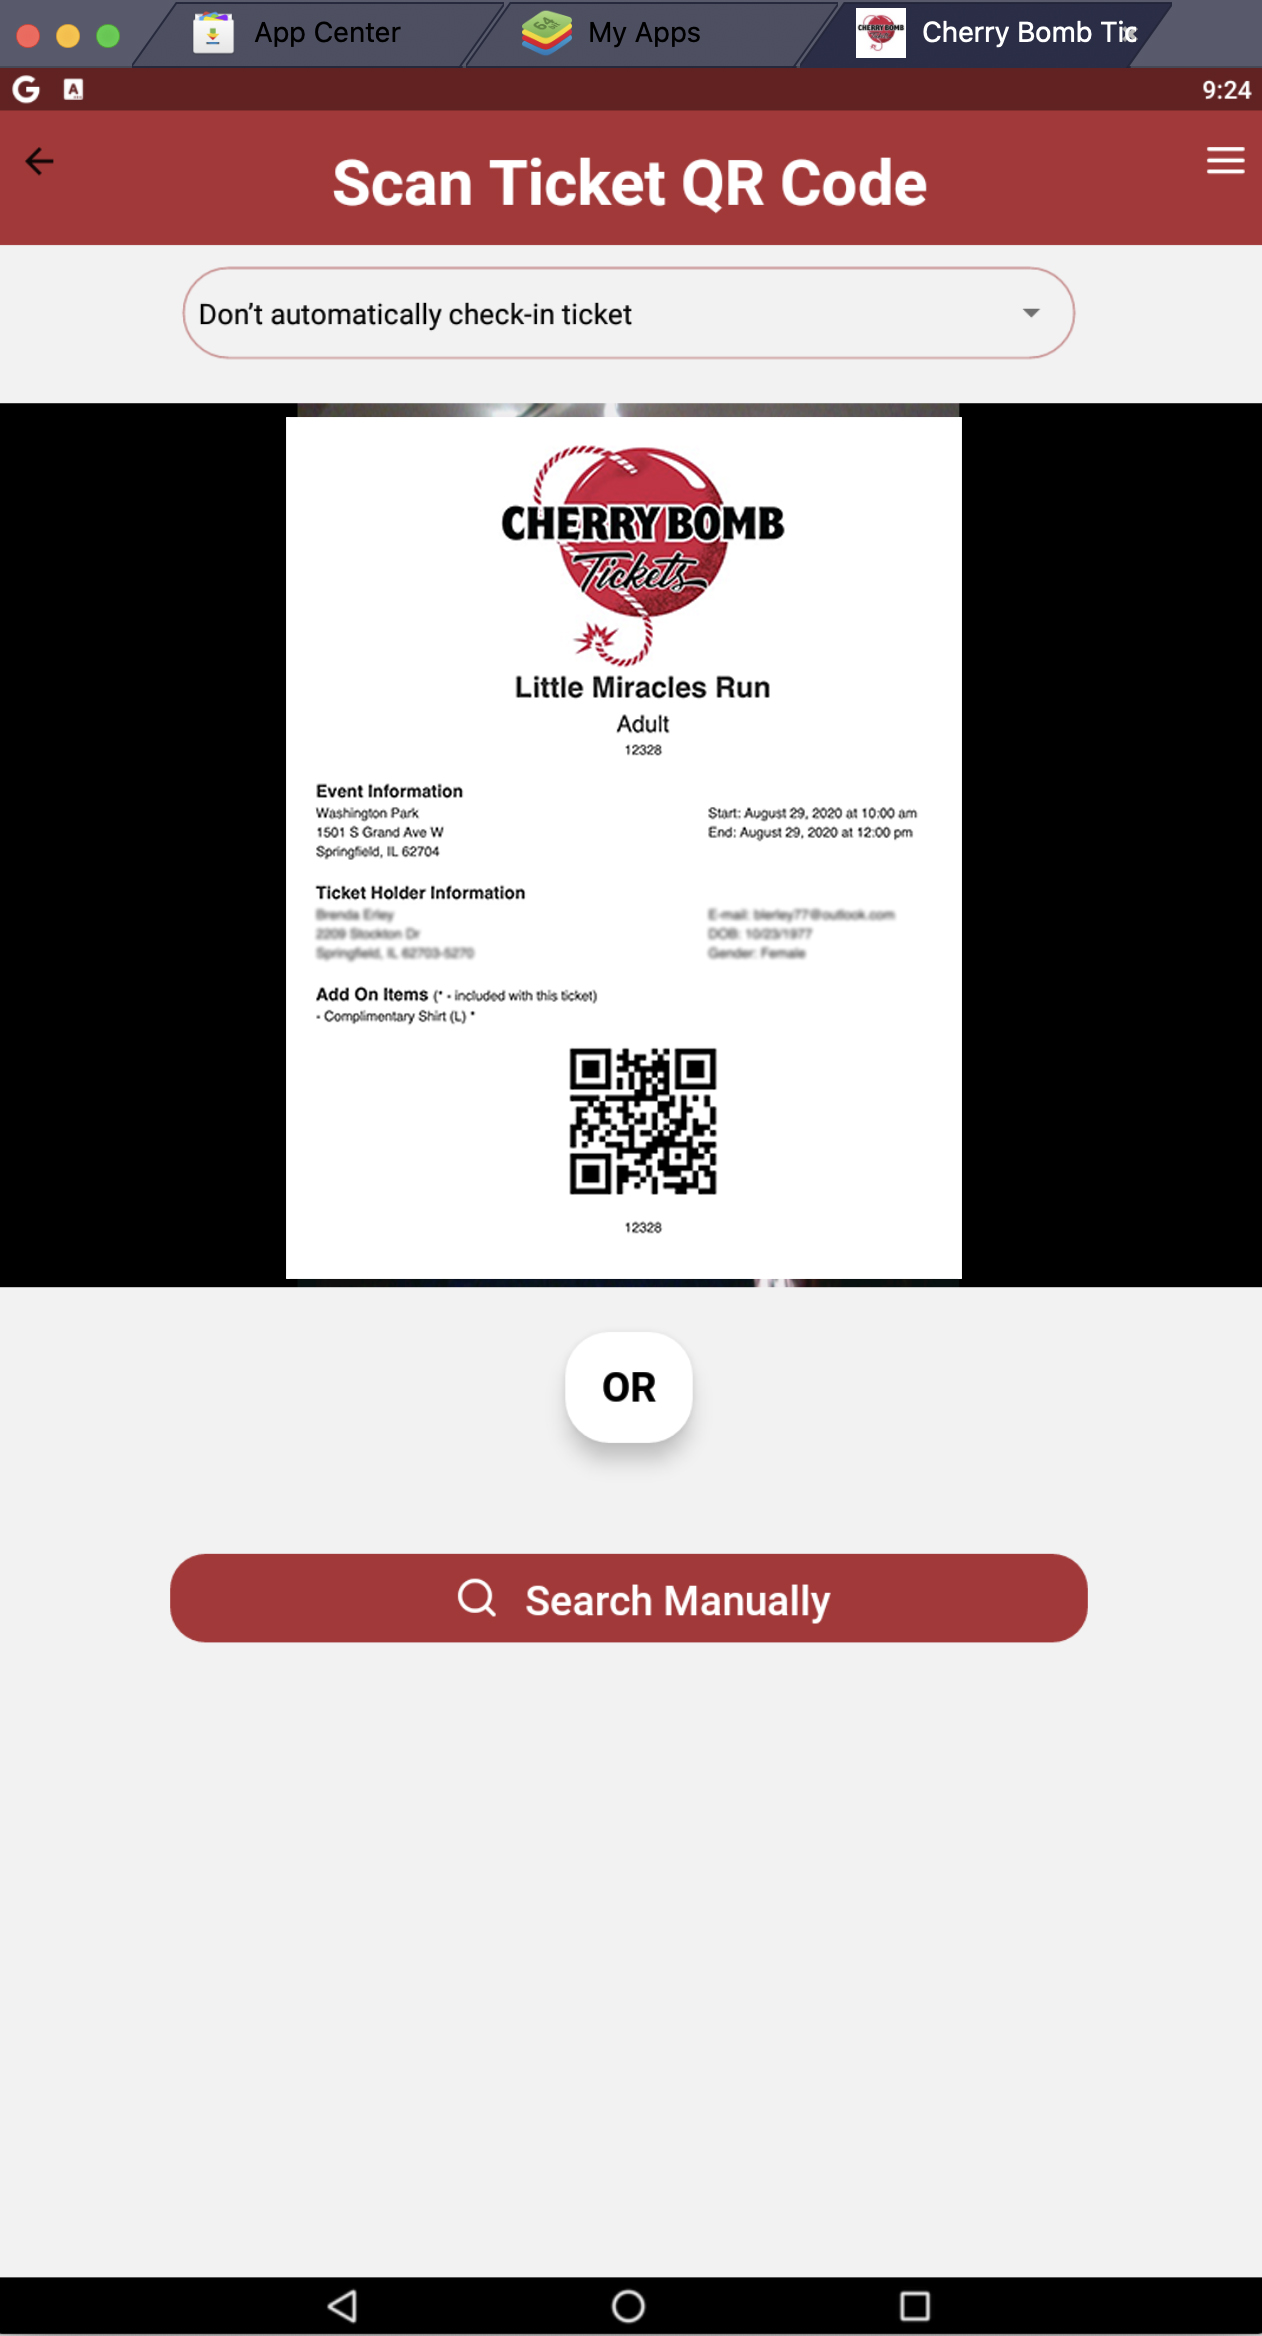
- When scanning the ticket QR Code you have the option of automatically checking in a ticket or not automatically checking in a ticket. If you have Add On Items or different ticket options available it may be best to no automatically check in the tickets and have a chance to review and fulfill items. If not, you can power through with a simple scan and the ticket will be checked in.
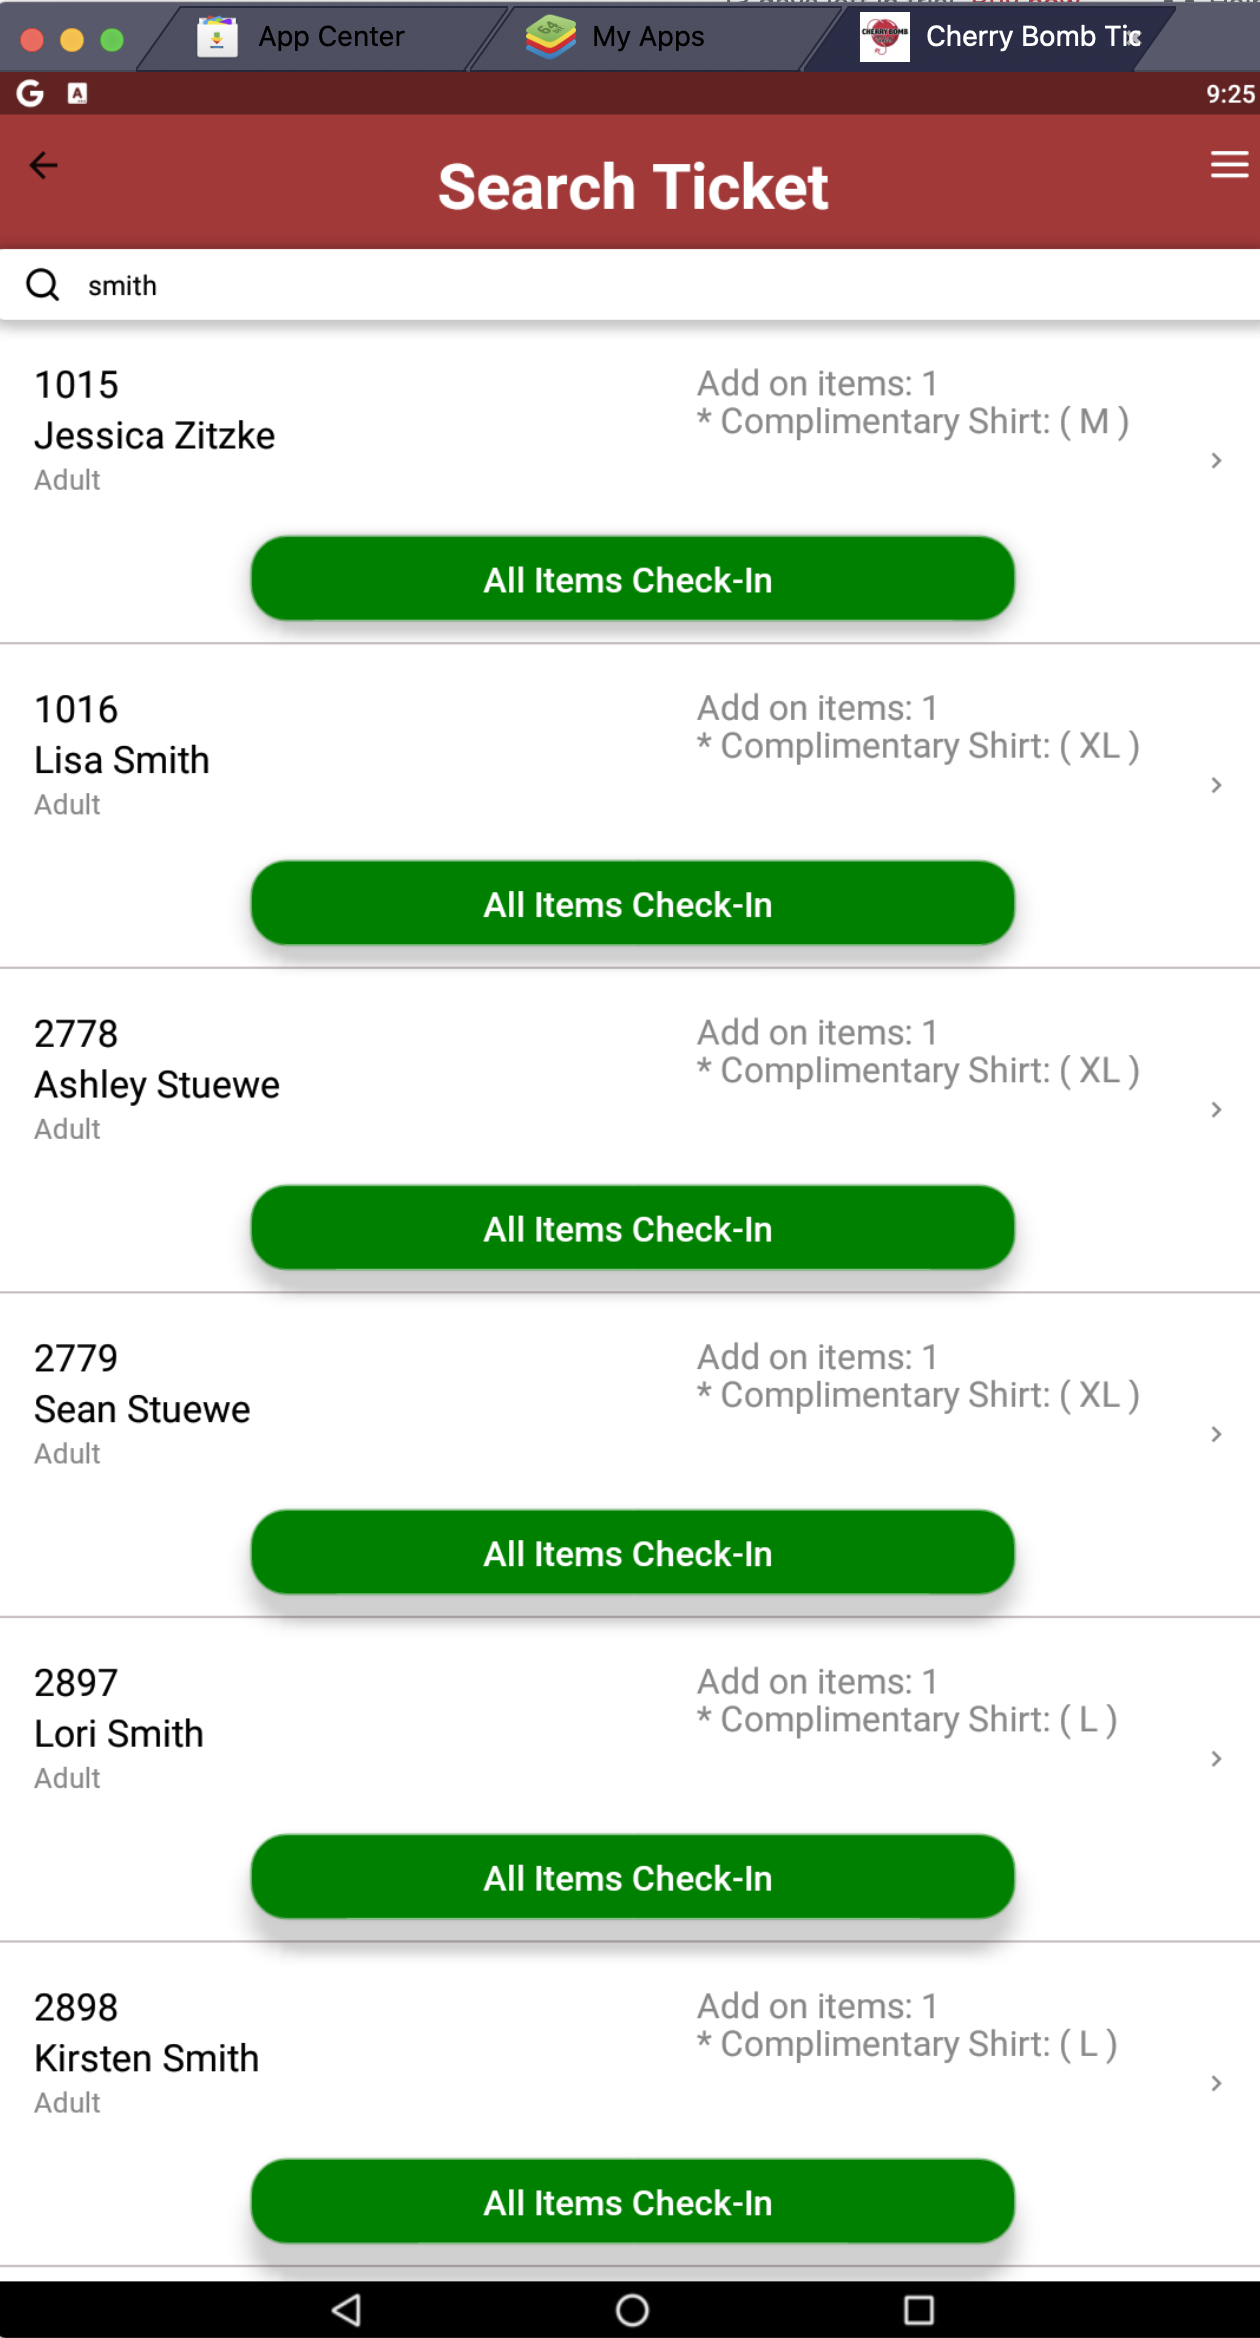
- When "Searching Manually" for tickets you will simply need to type in the ticket number, first name or last name. This will give you a list to choose from. Click on the name for the extended details or simply click on "All Items Check-In" to check them in. Don't worry if you make a mistake as you can do a Undo Check-In at any time.
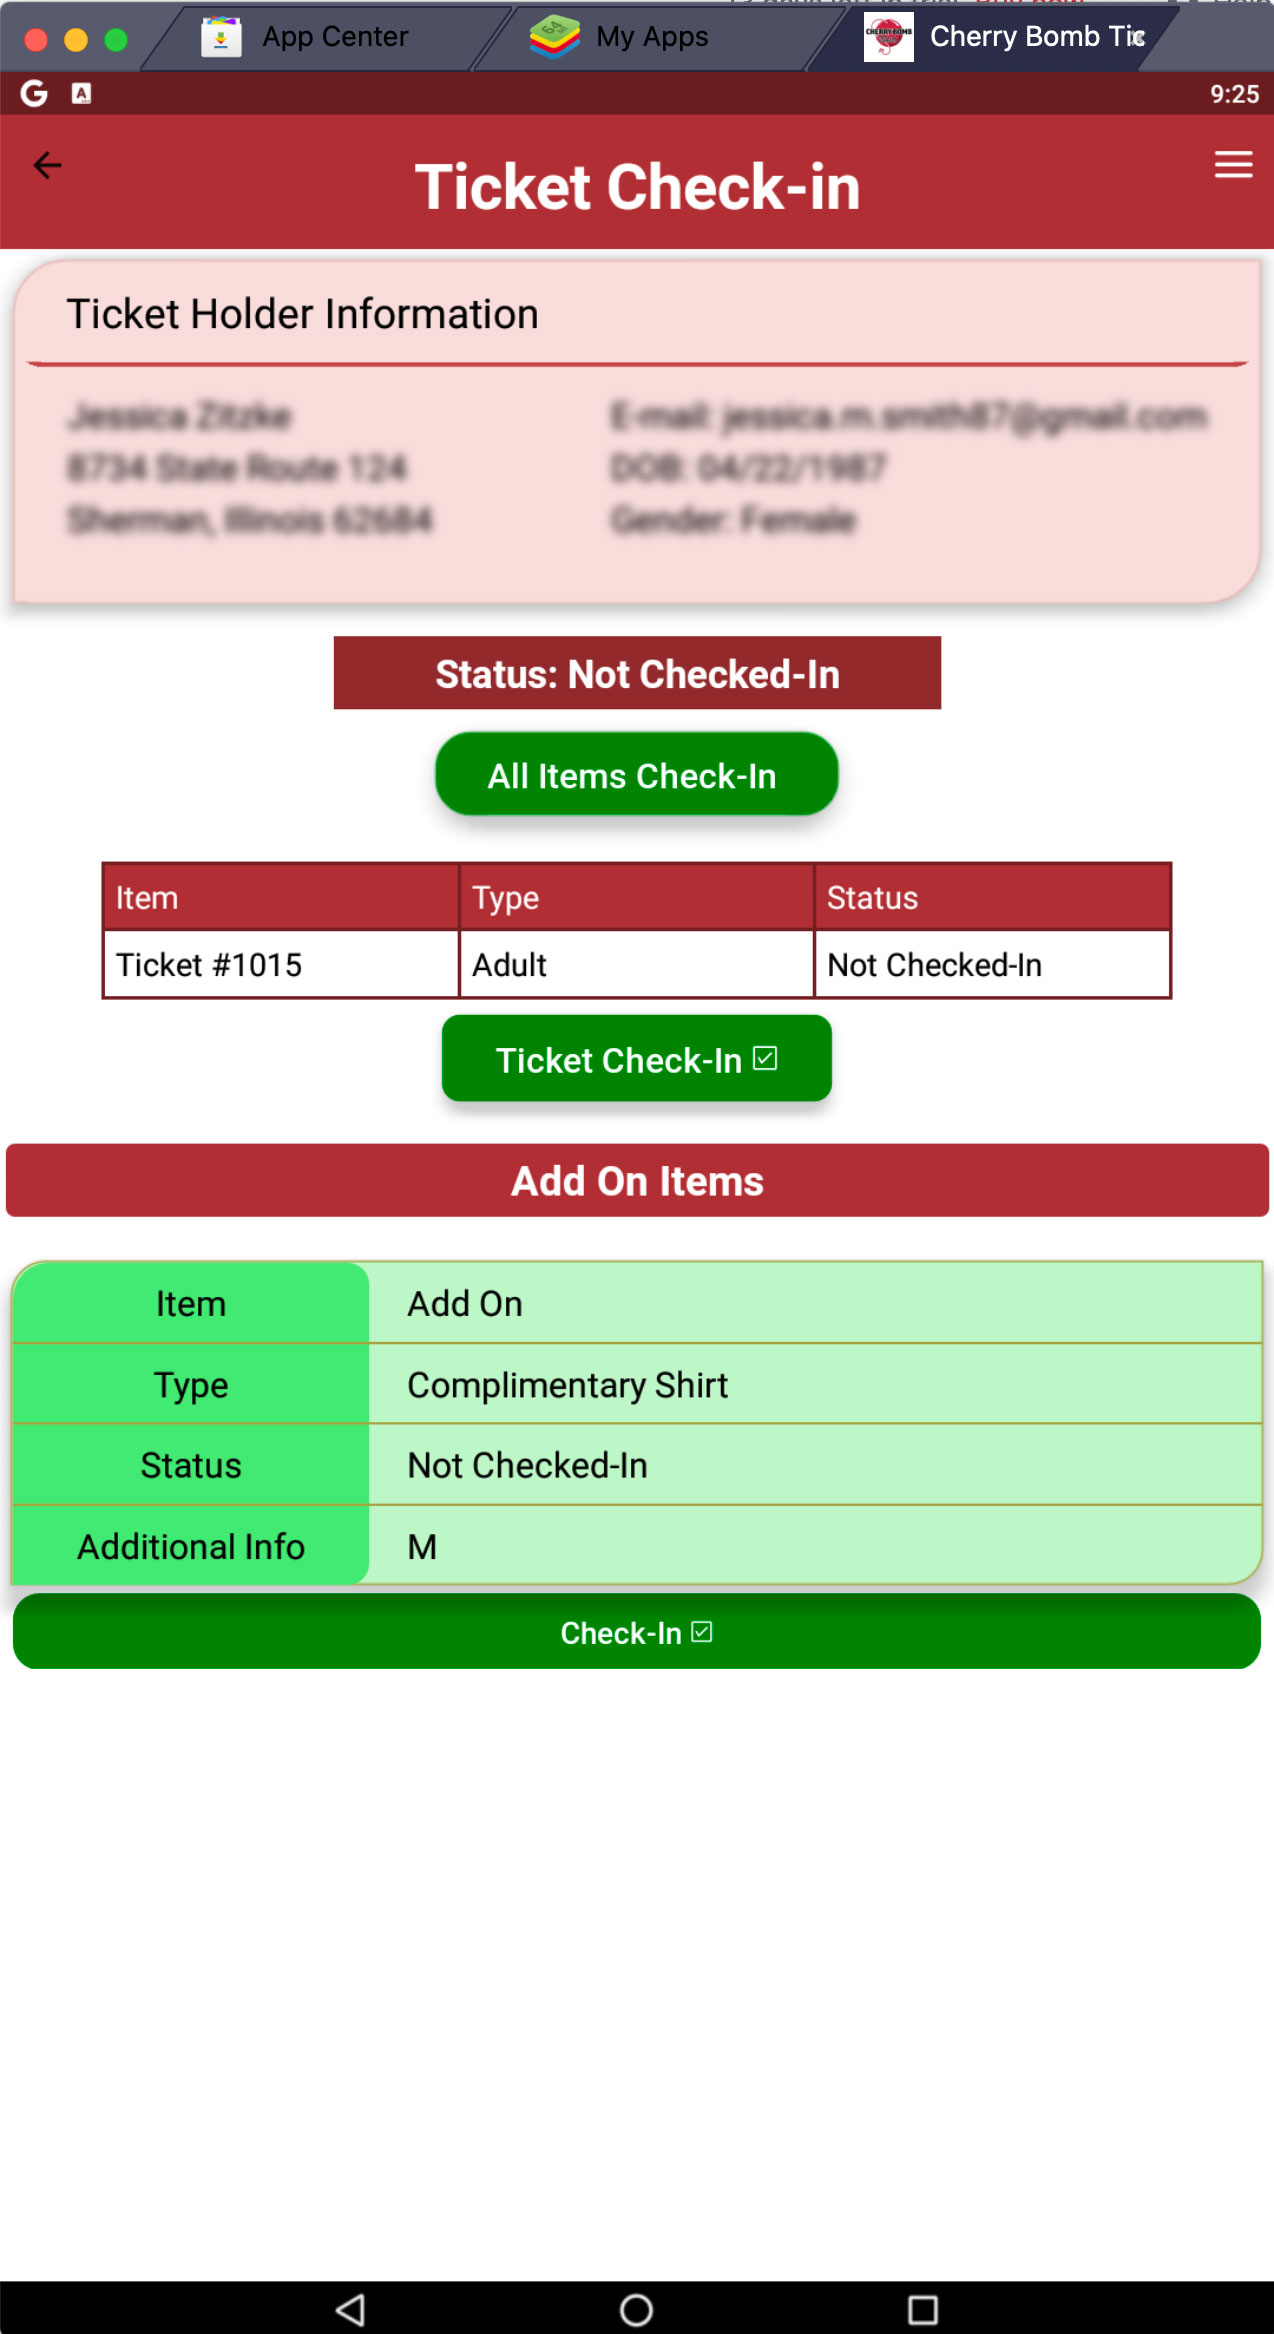
- If you have chosen not to automatically check in on the QR code scanner or have clicked the name for more details on the manual search you will be taken to a Ticket Check-In page with more details on each user. This will give you their contact information as well as their tickets purchased and all add on items. On this page you can choose to check in these tickets and add on items individually with the "Ticket Check-In" or "Check-In" buttons in each section or simply click on the "All Items Check-In" to check in all tickets and add ons at the same time.
DOWNLOADING A CSV/PDF LIST OF REGISTRATIONS
Need to download a CSV/PDF of registrations? It's super easy! Having a backup print out can be very handy incase of unforeseen internet or computer/phone issues. Plus having a CSV file can be handy for printing labels and mailing items.
In the "Event Details" page for your event simply click on the "Download Guest List CSV" or "Download Guestlist PDF" buttons to have a file downloaded to your computer.
Comments
0 comments
Please sign in to leave a comment.